Module 5: Entering Expenses in the Mobile App
When you create a Tab for an object, the object becomes automatically available in the Salesforce1 Mobile App. In this module, you experiment with viewing, creating, and editing expenses in the Salesforce1 Mobile App.
Step 1: Create an Expense in Salesforce1
Open the Salesforce1 app on your mobile device
You can also emulate the Salesforce1 Mobile App in your computer browser as explained in Module 2.
Tap the menu icon
 (upper left corner)
Use Clicks instead of Taps in the remaining of this tutorial if you are emulating the Salesforce1 Mobile App in your computer browser.
In the menu, tap More... under Recent
Tap Expenses to display the expense list
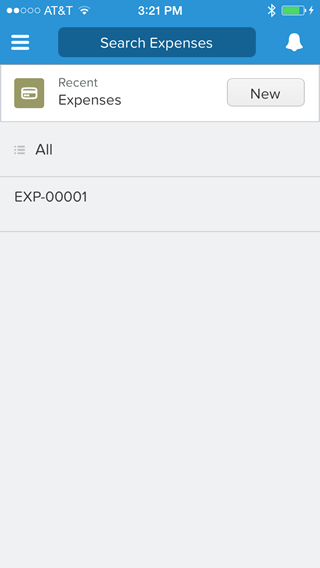
Tap an expense in the list to display the expense details
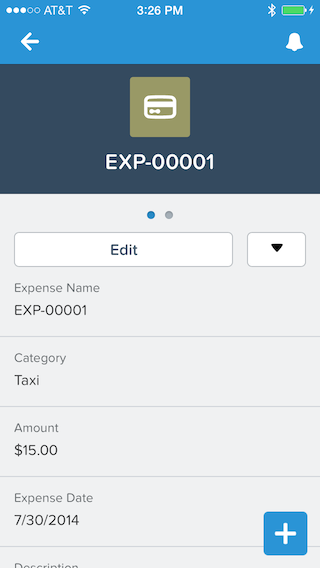
Tap the Back button to go back to the expense list
In the expenses list, tap New, and enter a new expense
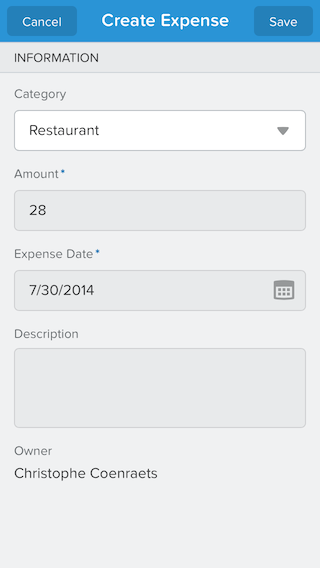
Tap Save (upper right corner)
Step 2: Adding Useful Information to the List Views
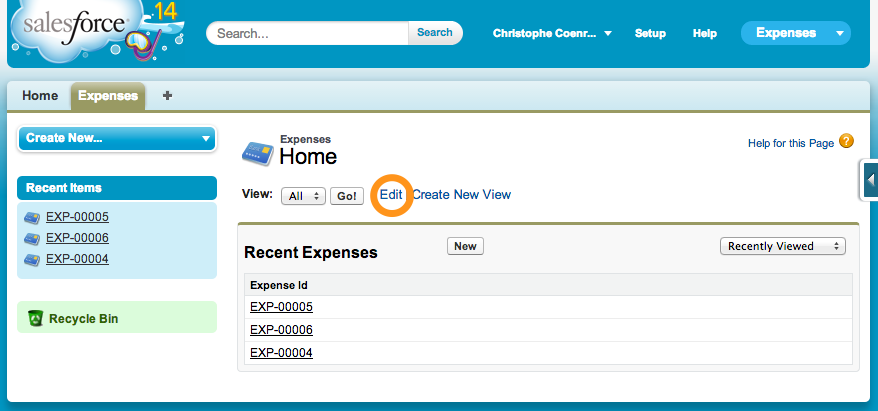
In the Salesforce.com application in your browser, click the Expenses tab, and click the Edit link to edit the All view
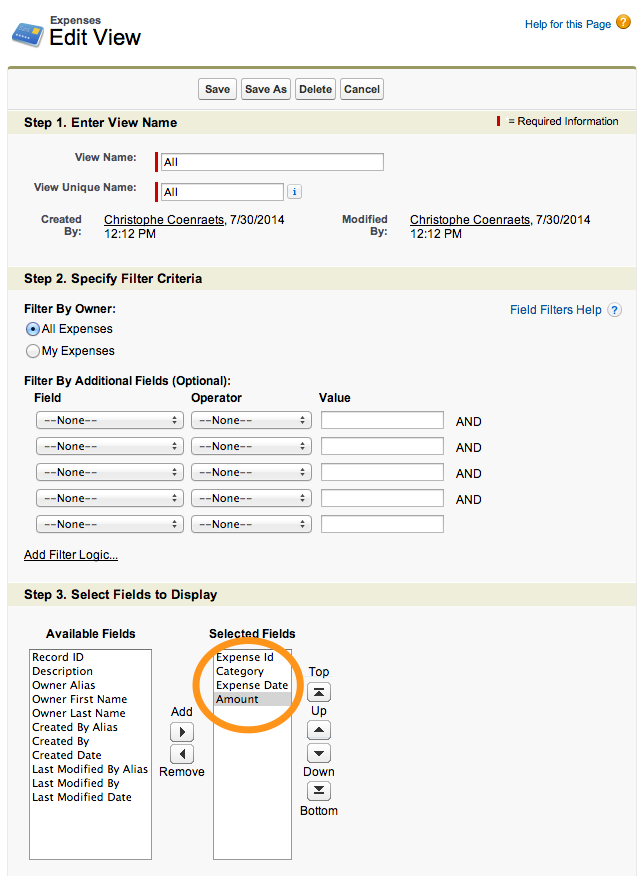
In the Select Fields to Display section, add Expense Id, Category, Expense Date, and Amount to the Selected Fields, and click Save
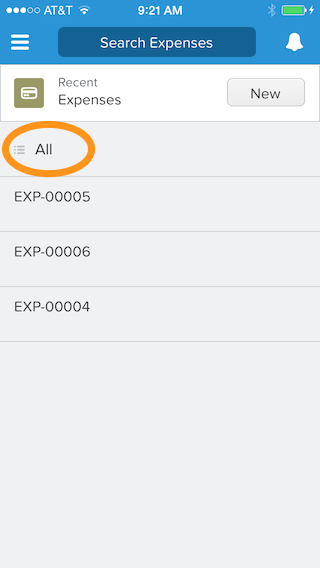
In the Salesforce1 Mobile App, go back to the list of expenses and tap All
If you don't see the All option, pull (swipe down and release) the list to refresh it
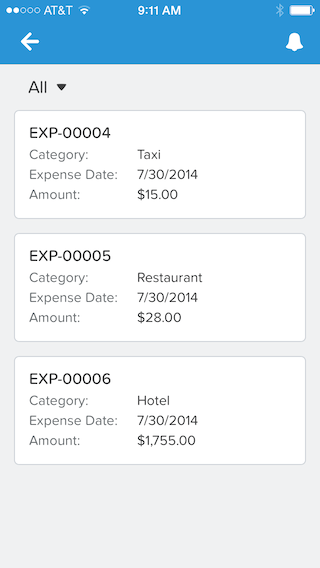
The view loads with the fields you specified in the view definition. You can click an expense to see details.
Step 3: Pin Expenses at the Top of the List
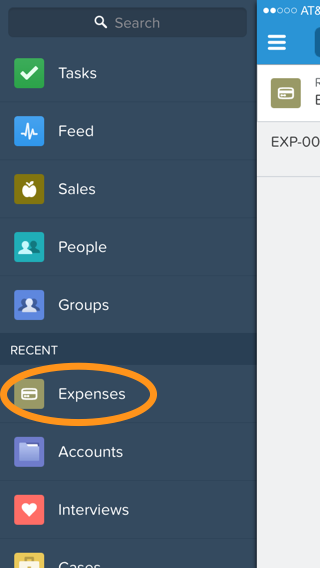
For faster access, you can pin frequently used items at the top of the Recent menu item: you will no longer need to go find an object deep under the More... item.
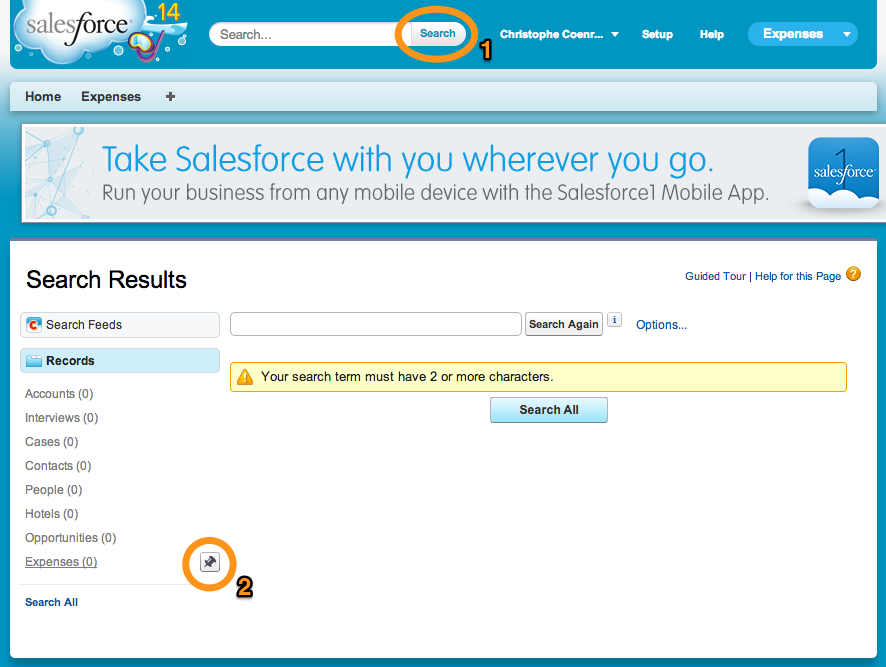
In the Salesforce.com application in your browser, click the Search button in the header
You don't need to type anything in the search box: we just need the Search Results by Records to appear in the left navigation.
In the Search Results (left navigation), mouse over Expenses, and click the Pin button
In the Salesforce1 Mobile App, tap the menu icon
 (upper left corner)
If Expenses doesn't appear as the first item under Recent, pull (swipe down and release) the menu to refresh it
- Creating a Developer Edition Account
- Installing the Salesforce1 App
- Creating the Expense Object
- Creating the Expenses Tab
- Entering Expenses in the S1 Mobile App
- Creating a Mobile Layout
- Creating a Compact Layout
- Uploading Receipts using the Chatter Feed
- Creating a Global Action
- Working with Related Objects
- Creating a Child Record with an Object Action
- Updating a Record with an Object Action
- Working with Mobile Cards
- Next Steps