There are two ways to create a hybrid application with the Mobile SDK:
The Salesforce Mobile SDK CLI wraps the Cordova CLI: In addition to creating a Cordova project, it automatically sets up the Mobile SDK plugin and config file (bootconfig.json).
We cover the first approach in this module, and the second approach in the next module.
To create a Salesforce application using the Mobile SDK CLI:
Install Node.js if it's not already installed on your computer (Cordova and the Salesforce Mobile SDK are installed using npm, the Node.js Package Manager).
Install Cordova and the Salesforce Mobile SDK for the platform of your choice. For example, for iOS:
npm install -g cordova forceios
On a Mac, you may have to use sudo:
sudo npm install -g cordova forceios
To install the Mobile SDK CLI for Android, replace
forceioswithforcedroid.
Create a new mobile application:
forceios create
Answer the prompts as follows (adjust the company id and organization name as needed):
Enter your application type (native, hybrid_remote, or hybrid_local): hybrid_local
Enter your application name: firstapp
Enter the output directory for your app (defaults to the current directory):
Enter your company identifier (com.mycompany): com.mycompany.firstapp
Enter your organization name (Acme, Inc.): MyCompany, Inc.
Enter your Connected App ID (defaults to the sample app’s ID):
Enter your Connected App Callback URI (defaults to the sample app’s URI):
When you don't provide values for the Connected App Id and Callback URI, the Mobile SDK defaults to a sample Connected App that is suitable for development and testing. For a production application, you should create a Connected App in Salesforce and provide your own Connected App ID and Callback URI.
Navigate (cd) to the project directory:
cd firstapp
Examine the directory structure. The www directory contains the web
application.
To run the application on a mobile device or in an emulator, you need the vendor's SDK for the target platform installed on your computer (for example, you need Xcode and the iOS SDK to build the app for iOS, and the Android SDK to build the app for Android). If you don't have a vendor SDK available on your computer, you can still run the application in your browser. In that case, skip this step and go directly to step 3 below.
Add some useful Cordova plugins (optional):
cordova plugin add cordova-plugin-console
cordova plugin add cordova-plugin-statusbar
Check out this page in the Cordova documentation for more information on the Cordova CLI and plugins.
Build the project:
cordova build
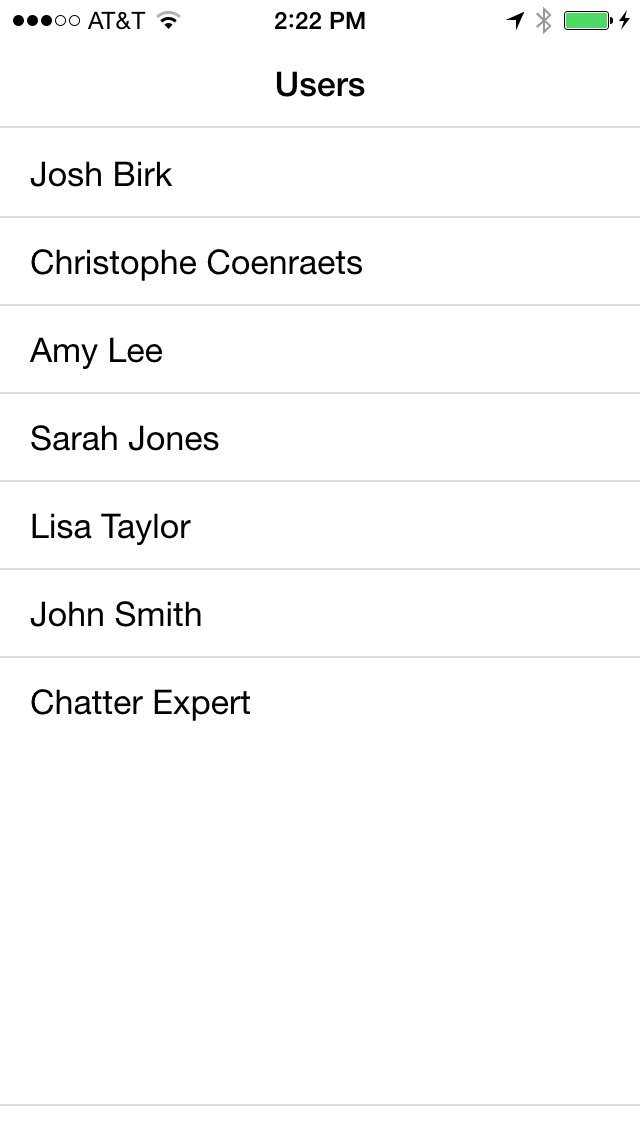
Run the project. For example, for iOS, open the project (platforms/ios/firstapp.xcodeproj) in Xcode and run it in the emulator or on your iOS device.
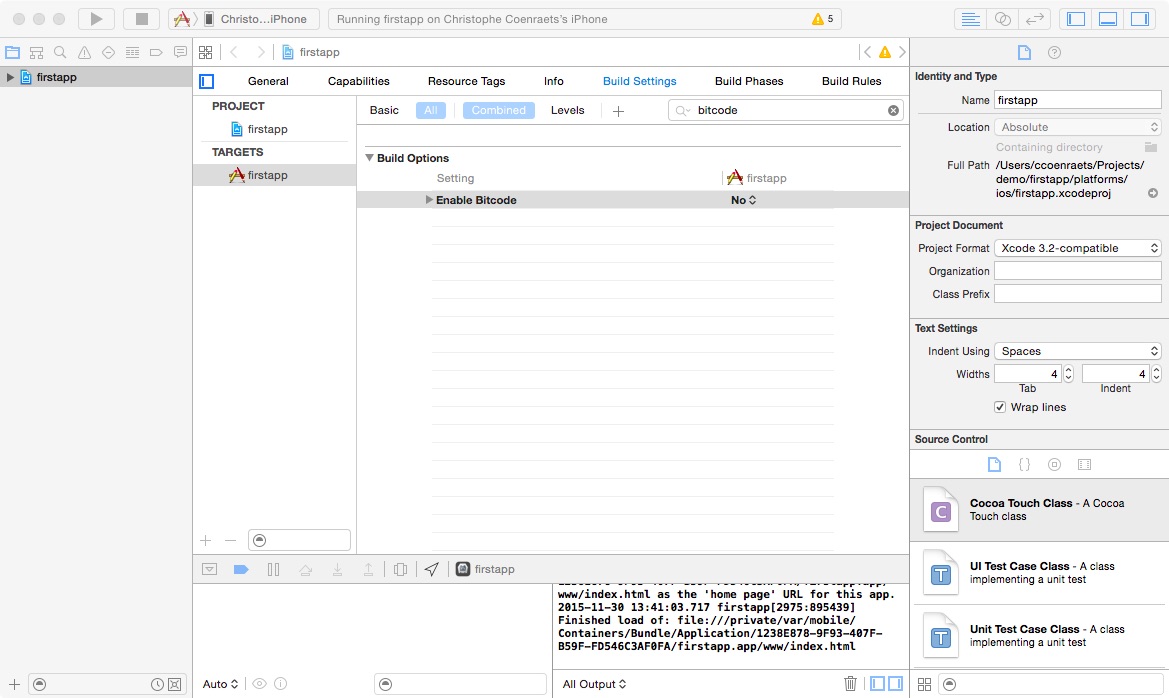
If the build fails in Xcode, select the firstapp target, click the Build Settings tab, search for bitcode, select No for Enable Bitcode, and try again.
To make sure the header of your application doesn't collide with the iOS status bar:
Make sure you installed the status bar plugin as described above
Add the following preferences to your project’s config.xml:
<preference name="DisallowOverscroll" value="true"/>
<preference name="StatusBarOverlaysWebView" value="false" />
<preference name="StatusBarBackgroundColor" value="#ffffff" />
<preference name="StatusBarStyle" value="default" />
Rebuild and run the project
The sample application is built with ForceTK, the Force.com JavaScript REST Toolkit. In this section, we modify the application to use ForceJS instead of ForceTK. ForceJS is similar to ForceTK with a few differences:
To modify the application to use ForceJS:
Download forcejs.
Copy the force.js file in the firstapp/www/js folder.
Delete forcetk.mobilesdk.js and jquery.js from the firstapp/www/js folder
Open firstapp/www/index.html in your favorite code editor and make the following changes:
jquery script tagjs/forcetk.mobilesdk.js with js/force.jsOpen www/js/app.js in your favorite code editor and examine the code.
Notice that, as it is, the code works with a direct reference to the Mobile SDK plugin. As a result, you can only run the app on device or in an emulator: you can't test it in the browser first and run it on device later.
Remove the existing code, and replace it with the following code:
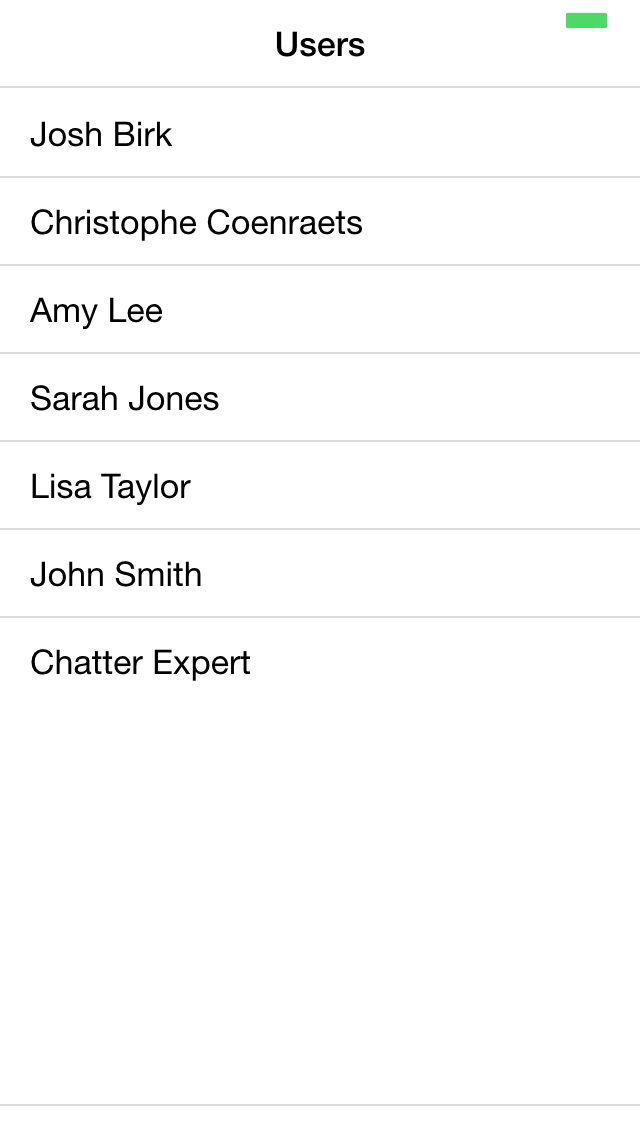
force.login(function() {
    force.query('SELECT Id, Name FROM User LIMIT 10', function (response) {
        var html = '';
        var users = response.records;
        for (var i = 0; i < users.length; i++) {
            html += '<li class="table-view-cell">' + users[i].Name + '</li>';
        }
        document.getElementById('users').innerHTML = html;
    });
});
force.login() abstracts the authentication process. When running in Cordova, force.login() leverages the Mobile SDK OAuth plugin. When running in the browser, force.login() provides a full implementation of the OAuth workflow.
Rebuild the project
cordova build
Run the project
As mentioned above, one of the benefits of ForceJS is that you can run the application in the browser or on device without code modification. To run the application in the browser, we use force-server, a simple development server aimed at providing a simple and integrated developer experience when building applications that use Salesforce OAuth and REST services. force-server provides two main features:
To run the application in the browser using force-sever:
Install force-server
npm install -g force-server
or
sudo npm install -g force-server
Navigate (cd) to your app's www directory
Start the server
force-server
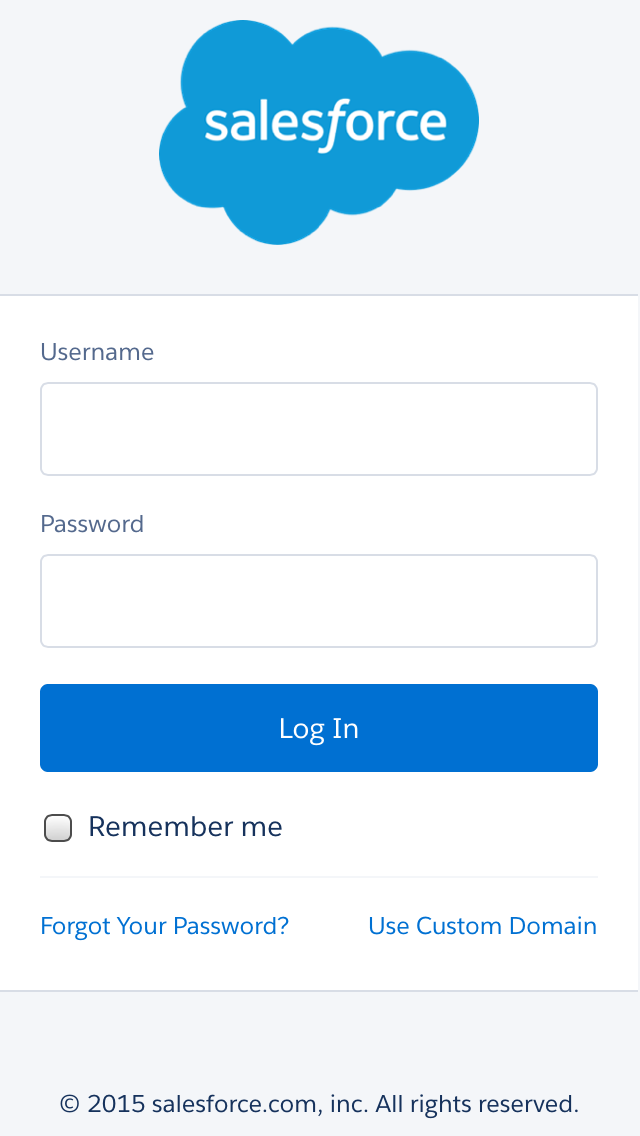
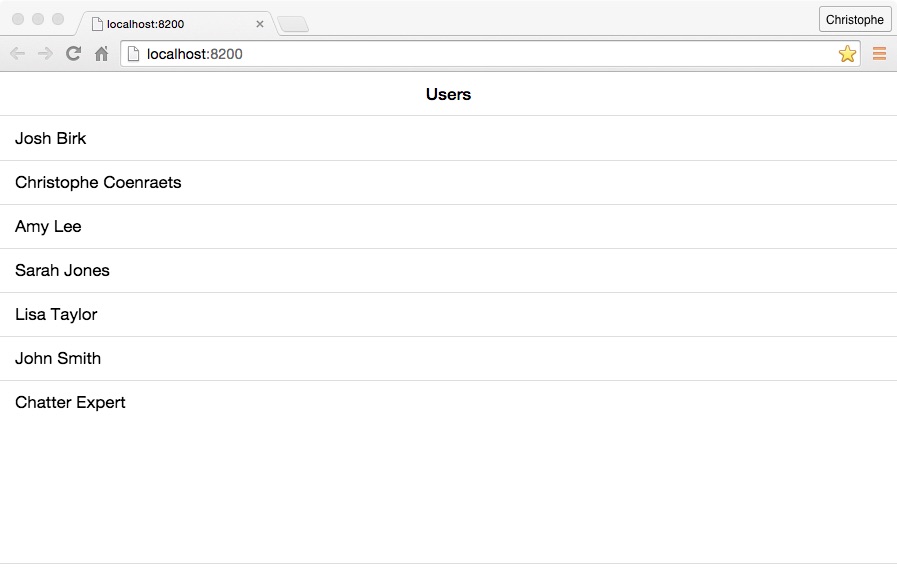
This command will start the server on port 8200, and automatically load your app (http://localhost:8200) in a browser window. You'll see the Salesforce login window (make sure you enable the popup), and the list of contacts will appear after you log in. If you don’t have a free Salesforce Developer Edition to log in to, you can create one here.
You can change the port number and the web root. Type the following command for more info:
force-server --help