In this module, you create a Lightning Component responsible for displaying the list of contacts and you add that component to the QuickContacts application.
In the Developer Console, click File > New > Lightning Component. Specify ContactList as the bundle name and click Submit
Implement the component as follows:
<aura:component controller="yournamespace.ContactController">

    <aura:attribute name="contacts" type="Contact[]"/>
    <aura:handler name="init" value="{!this}" action="{!c.doInit}" />

    <ul class="list-group">
        <aura:iteration items="{!v.contacts}" var="contact">
            <li class="list-group-item">
                <a href="{! '#contact/' + contact.Id }">
                    <p>{!contact.Name}</p>
                    <p>{!contact.Phone}</p>
                </a>
            </li>
        </aura:iteration>
    </ul>

</aura:component>
Make sure you prefix the controller name with your own namespace you created in module 2.
<aura:iteration> is used to iterate through the list of contacts and create an <li> for each contact<a href="{! '#contact/' + contact.Id }"> anchor tag around the contact data is defined to set the page hashtag to #contact/ followed by the contact id. In module 7, the ContactDetails component will use that hashtag to display details information every time the user clicks a new contact.Click File > Save to save the file.
Click CONTROLLER

Implement the Controller as follows:
({
    doInit : function(component, event) {
        var action = component.get("c.findAll");
        action.setCallback(this, function(a) {
            component.set("v.contacts", a.getReturnValue());
        });
        $A.enqueueAction(action);
    }
})
Click File > Save to save the file
In the developer console, go back to the QuickContacts application.
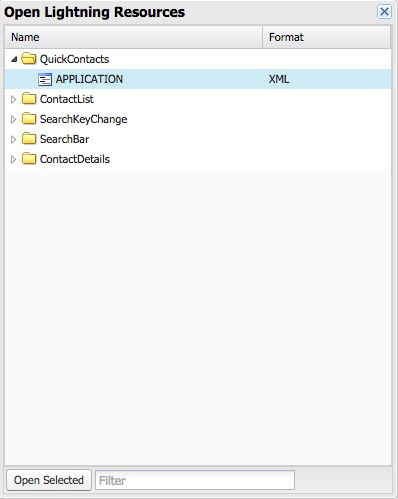
If you don't see the tab in the developer console, select File > Open Lightning Resources in the Developer Console menu, select QuickContacts > APPLICATION in the dialog, and click the Open Selected button.
Modify the container div as follows to add the ContactList component to the application layout.
<div class="container">
    <div class="row">
        <div class="col-sm-12">
            <yournamespace:ContactList/>
        </div>
    </div>
</div>
Make sure you prefix ContactList with your own namespace you created in module 2.
Click File > Save to save the file
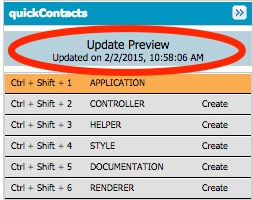
Click Preview or Update Preview
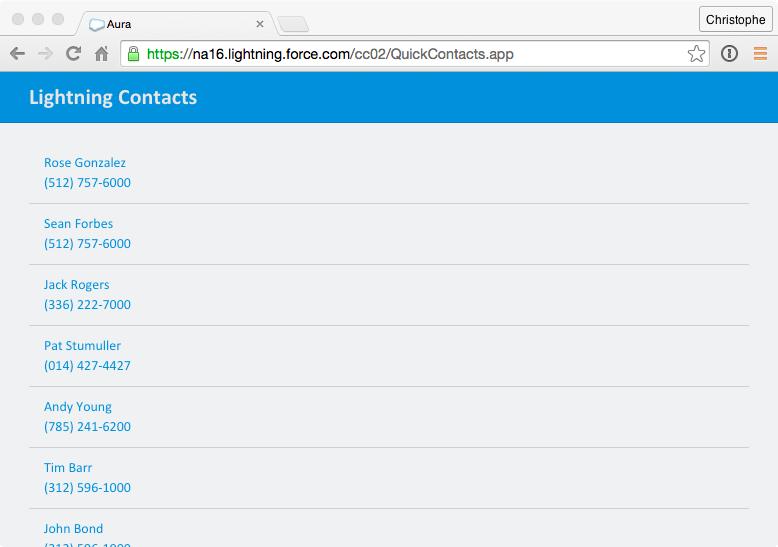
Preview the application in your browser
There is probably too much space above and below the phone number. In this step, you'll add a style to the component to remove the extra space.
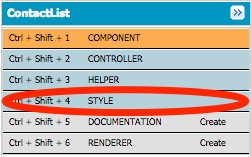
Click STYLE
Implement the following style:
.THIS p {
    margin: 0;
}
Click File > Save to save the file
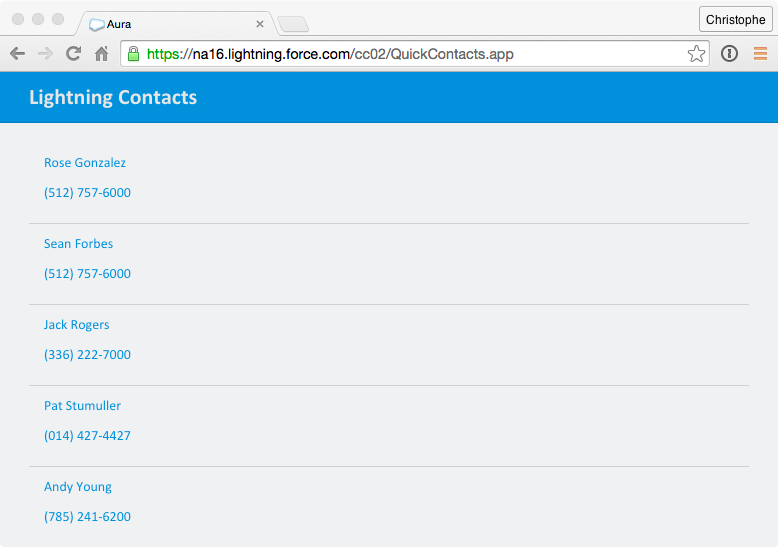
In the developer console, go back to the QuickContacts application, click Preview or Update Preview to preview the application in your browser